September 10, 2026
Durability of Painted Kitchen Cabinets: A Homeowner Guide
You notice it first in the small stuff. The cabinet door by the sink feels fine, but the one near the west window looks tired, the paint has gone a little chalky, and the handles around the cooktop have a greasy dullness that never seems to wash off completely. In an Austin kitchen, that mix usually isn't random. It's what painted cabinets look like when sunlight, moisture, and heat have been working together for years.
That's why the durability of painted kitchen cabinets isn't really about whether the color looks good on day one. It's about how well the finish keeps its color, sheen, and adhesion while a kitchen goes through humid mornings, hot afternoons, and everyday wiping. A professional finish can last about 8 to 15 years in normal residential use when it's properly prepped and finished, and premium sprayed systems can sit at the upper end of that range, while stronger two-component polyurethane systems are often described at 10 to 20 years under normal household use (how long painted cabinets last, cabinet painting lifespan).
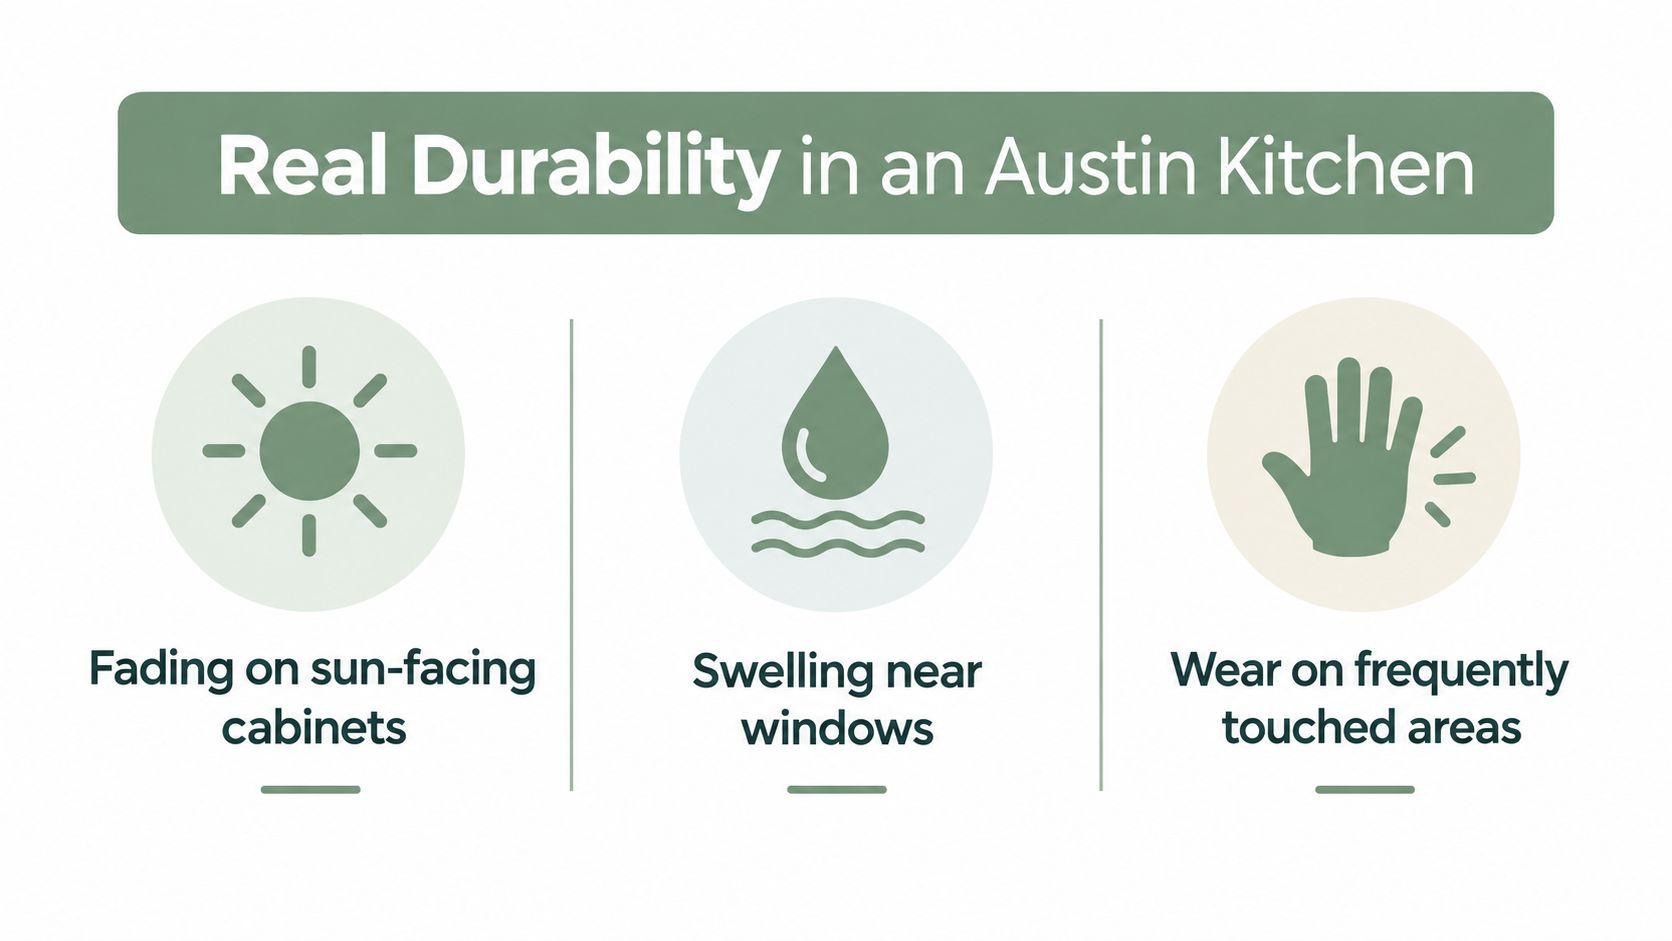
Table of Contents
- What Real Durability Looks Like in an Austin Kitchen
- The Three Stressors That Quietly Age Painted Cabinets
- Why Prep Work Does More Than Paint Selection
- Choosing a Paint System That Matches How You Actually Cook
- Cure Time Is Part of Durability
- Reading the Early Warning Signs of Finish Failure
- Daily Habits That Add Years to a Painted Finish
- Making the Right Call for Your Cabinets This Year
What Real Durability Looks Like in an Austin Kitchen
A Round Rock homeowner might look at five-year-old cabinets and wonder why the doors by the window are fading while the drawer fronts near the range still look sharp. A Dripping Springs kitchen may show the opposite, with less sun but more cooking wear and steam. That difference is the point, because durability is not a simple intact-versus-failed question.
What keeps a cabinet finish healthy
Good painted cabinets don't just “stay painted.” They keep their gloss, edge integrity, and adhesion through seasons of use. That usually means the coating keeps resisting chipping around hardware, softening near heat sources, and discoloration where the sun hits hardest. In practical terms, the finish still looks like a finish, not a tired skin that's starting to lift or powder.
Austin changes the math because homes from Round Rock to Dripping Springs see intense UV on south- and west-facing elevations, plus indoor moisture from dishwashers, sinks, kettles, and cooking. Cabinets near windows, ovens, and ranges aren't aging at the same rate as the ones inside a darker pantry wall. That's why a single lifespan number can be misleading if nobody asks which stressors are hitting the kitchen.
A better way to think about painted cabinet life is to follow the whole chain, from prep to coating chemistry to cure time to daily care. The rest of this guide walks through those pieces so you can judge whether your cabinets need a touch-up, a full repaint, or a deeper refinish.
Practical rule: If one part of the kitchen ages faster than the rest, don't assume the paint is “bad.” Look at the cabinet's exposure to sun, steam, and heat first.
The Three Stressors That Quietly Age Painted Cabinets
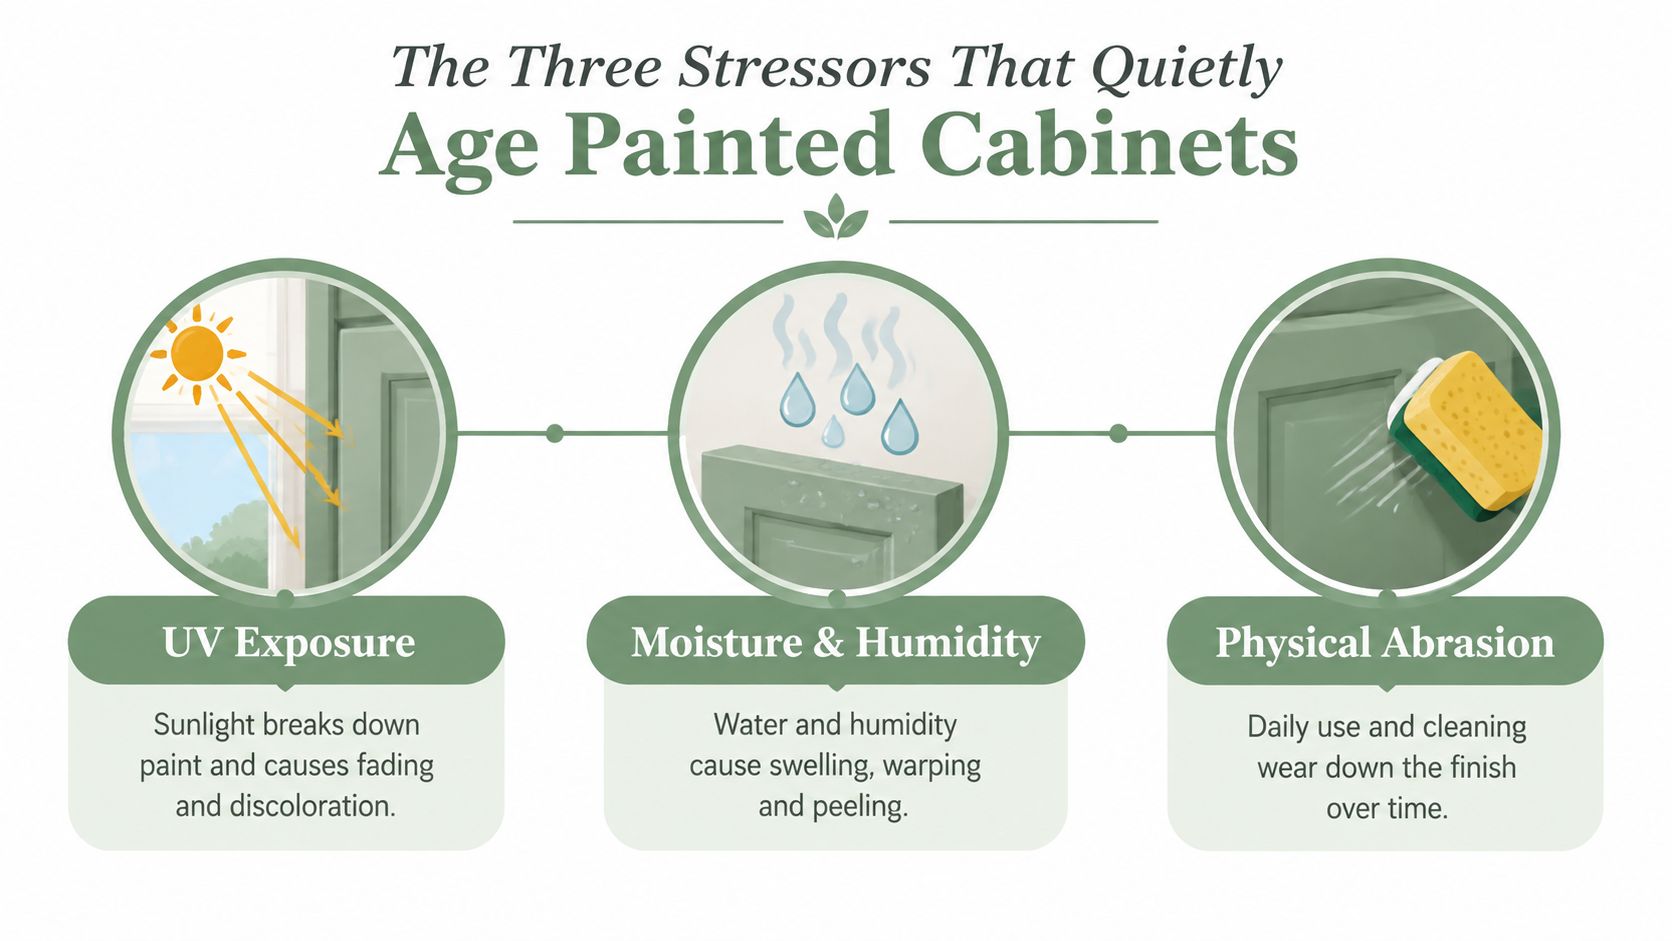
Painted cabinets usually don't fail from one dramatic event. They wear down when UV exposure, moisture, and heat keep hitting the same finish over and over. In Central Texas, that combination is common enough that a kitchen in Cedar Park can age differently from one in Buda even when the same paint was used.
UV starts the breakdown
Sunlight is the easiest stressor to see. West-facing cabinets near a window can lose color first, especially in kitchens that catch late-day sun. UV doesn't just fade pigment, it can also weaken the resin structure in the coating, so the film becomes less flexible and less able to shrug off everyday wear.
Moisture slips into the weak spots
Steam from dishwashers, kettles, boiling pots, and sink splash zones creates a second layer of stress. Once the film has tiny weaknesses, moisture can work into corners, edge joints, and the sink area. That's when you start seeing soft edges, swelling at exposed substrate, or peeling where the paint was already under-bonded.
Heat finishes the job
Heat from wall ovens, toaster ovens, and above-the-range microwaves expands and contracts the coating again and again. On its own, that might not ruin a good finish. Put heat next to UV and moisture, though, and you get a coating that's constantly being bent, dried out, and pushed open at the weakest points.
Sunlight dries the film, moisture finds the microcracks, and heat keeps flexing the weak spots.
That's the basic failure model I'd use in an Austin kitchen. It's also why a house in Lakeway, Bee Cave, Georgetown, Hutto, Pflugerville, Kyle, or Steiner Ranch can show very different wear patterns depending on window placement, cooking habits, and how often the cabinets get wiped.
For more on the humidity side of finish wear, see this Texas humidity guide.
Why Prep Work Does More Than Paint Selection
Paint choice matters, but prep is what tells the coating whether it has a fighting chance. Kitchen cabinets collect cooking film that you can't always see, and that residue works like a release layer if it isn't removed before painting. If the surface is slick with grease, even a decent paint can cling poorly and fail early.
The prep chain that actually holds up
The first step is degreasing, because cabinets around a cooktop and sink pick up oils, aerosols, and hand residue. A solvent or proper degreaser lifts that film so primer can grab the surface instead of sitting on top of contamination.
Next comes sanding, which creates tooth. That doesn't mean grinding every cabinet back to bare wood, it means roughing the surface enough for primer to bond mechanically. Skipping that step leaves you with a pretty finish that can still let go under hardware wear, humidity, or regular cleaning.
Primer is the next link. A bonding primer helps old factory finishes, slick wood, or stain-prone species accept the topcoat. In the right system, the primer and topcoat work together as one film instead of two separate layers that peel apart.
Controlled spray application matters too. A booth-sprayed finish lays down more evenly than a brushed surface, and more even film build usually means fewer thin spots, fewer texture ridges, and better long-term washability. That's one reason professional cabinet refinishing can feel so different from a quick brush-and-roll repaint.
Simple takeaway: the weakest step decides the lifespan. If degreasing, sanding, priming, or spray application is rushed, the whole finish ages faster.
If you're comparing service options, cabinet refinishing details show why the prep sequence is built as a system, not a shortcut.
Choosing a Paint System That Matches How You Actually Cook
The right coating depends on how hard your kitchen works. A lightly used guest kitchen can live with a softer finish, while a family kitchen in Austin that gets daily steam, grease, and constant wiping needs a tougher system. People get tripped up here, because not every cabinet paint is built for the same stress.
| Cabinet Paint Systems Compared | Hardness | Moisture Resistance | Cure Time | Best For |
|---|---|---|---|---|
| Standard latex enamel | Softer, easier to mark | Moderate | Faster to handle, but not as hard in use | Budget repaints, light-use spaces |
| Alkyd enamel | Harder, smoother feel | Good | Slower dry time | Homeowners who want a smoother traditional finish |
| 1K waterborne polyurethane | Stronger scratch resistance | Better than basic enamel | Moderate | Busy kitchens that see frequent wiping |
| 2K waterborne polyurethane | Very hard, furniture-like feel | Strong | Slower, because it has to cure fully | Heavy-use kitchens that need the most durability |
Latex enamel is the easiest to touch up, but it can feel softer under grease and heat. Alkyd enamel gives a harder, smoother result, though you need patience because it dries more slowly. 1K waterborne polyurethane is a real step up for scratch and chemical resistance, and 2K polyurethane is the benchmark when a kitchen needs the hardest finish available in this group.
For homeowners comparing repainting options in Central Texas, cabinet painting services are usually worth discussing when the kitchen gets heavy daily use and the finish has to survive repeated wipe-downs near the range and sink.
A simple way to choose is to match the coating to the kitchen's daily abuse. If you cook often, clean often, and have strong sun exposure, you want the more durable end of the spectrum, not the easiest one to buy.
Cure Time Is Part of Durability
Fresh paint can feel dry long before it's actually hard. That's where a lot of cabinet damage starts, because homeowners put doors back into service too early, stack things against them, or scrub them before the film has finished hardening. The finish may look fine that first week, then show dents, sticking, or fingerprints that never fully disappear.
The waiting period that protects the film
A good cabinet coating usually has a dry to the touch stage first, then a recoat window, then a deeper through-cure, and finally full hardness. For many systems, full hardness comes in about 21 to 30 days, and some need 2 to 4 weeks before heavy use (cabinet paint cure time). That full cure stage is when the finish gets its best resistance to scratches, dents, cleaning, and blocking.
If you want a useful rule for an Austin kitchen, treat the first month like a soft launch. Leave doors slightly ajar during the first week, avoid cling wrap and rubber bumpers during the second week, skip harsh cleaners until the third week, and handle the surface gently all the way through day thirty.
Don't confuse “dry” with “done.” A finish that feels dry can still dent easily under pressure.
Cure time matters more in humid homes because the coating slows down as it hardens. That's one reason a kitchen in West Lake Hills or Lakeway can need extra patience after painting, especially if the room gets little airflow. Once the film fully cures, it handles daily wiping and closing much better than it does in the first few days.
Reading the Early Warning Signs of Finish Failure
Cabinet failure usually starts with clues, not disasters. The signs show up in spots the hands and the sun touch most often, and the pattern tells you a lot about what went wrong. Once you know how to read those clues, you can decide whether a small repair is still on the table.
Chipping around knobs and pulls usually points to weak sanding or thin primer coverage. Those spots take repeated hand contact, so a weak bond shows up there first. If the paint has peeled near the sink or dishwasher, moisture probably found its way into an edge or joint that wasn't sealed well enough.
Yellowing near south- and west-facing windows usually tracks back to UV exposure. A chalky or powdery surface means the top layer has started degrading. If cabinet doors stick together after being stacked or closed too soon, that's blocking, and it usually means the coating cured under pressure instead of in open air.
Hairline cracks at stile-and-rail joints can appear when the wood moves seasonally. Austin humidity swings make that kind of movement more noticeable, especially on older cabinets or on doors where the finish bridges a joint that keeps flexing. Those cracks aren't always a total failure, but they do tell you the coating is being stretched beyond what it can comfortably handle.
The useful part is timing. If you catch a chip, dull patch, or small peel early, a touch-up may keep moisture out long enough to avoid a bigger repair. If you let those spots spread, the cabinet can move from cosmetic wear to widespread film loss much faster.
Daily Habits That Add Years to a Painted Finish
Painted cabinets last longer when you stop giving the finish small, repeated hits. In Austin kitchens, that usually means staying ahead of grease, humidity, and sun exposure, not waiting until the surface looks tired. A simple routine can make a real difference.
The weekly routine that helps most
Use a pH-neutral cleaner and a microfiber cloth for normal wipe-downs. That keeps the finish clean without stripping the film the way harsher sprays can. Around handles and pulls, clean a little more often, since skin oils build up there and make grime harder to remove later.
Grease splatter near the range needs attention right away. The longer it sits, the more it bonds to the finish and invites harder scrubbing later. A range hood helps lower that airborne grease load, which cuts down on buildup on nearby cabinet doors.
What to avoid
Skip magic erasers, ammonia-based sprays, and steam cleaners on painted cabinet faces. They can dull the sheen, soften the top layer, or push moisture into seams and edges. During humid months, wipe condensation from windows and nearby cabinet edges so moisture does not sit on the finish all day.
A few Austin-specific habits help more than people expect:
- Rotate sun exposure where you can: if cabinet doors or decor block one face more than another, move items occasionally so one area does not age faster than the rest.
- Check hardware twice a year: tightening loose pulls and hinges reduces stress around screw holes and edge paint.
- Inspect hinge-side edges annually: that is where early chips often begin.
- Keep a touch-up kit handy: small chips are easier to seal before moisture gets in.
Homes from Round Rock to Dripping Springs see different mixes of sun, heat, and humidity, so the best maintenance habit is consistency. A finish that gets wiped gently, kept dry at the edges, and protected from avoidable wear holds up better in real kitchens than one that only looks good on day one.
Making the Right Call for Your Cabinets This Year
The decision usually comes down to three questions. Is the substrate still sound, is the finish only worn or already failing, and does the layout still work for your kitchen? Answer those in that order, because a beautiful finish can't save swollen MDF or a thermofoil door that's already delaminating.
| Repaint vs. Refinish vs. Replace | Repaint | Refinish | Replace |
|---|---|---|---|
| Factor | Best when doors are square and the substrate is solid, and you want a new color | Best when existing paint is failing but the wood beneath is still sound | Best when the substrate is swollen, delaminated, or the layout no longer works |
| Typical use case | Color update, brighter look, or a cleaner uniform finish | Strip, repair, and rebuild the finish for a more durable result | Structural failure, moisture damage, or major redesign |
| Lifespan goal | Good when prep and coating are strong | Strongest option when the existing cabinet body is worth saving | Long-term fix when repair no longer makes sense |
| When to skip it | Don't repaint over failing substrate or badly damaged thermofoil | Don't refinish if the cabinet box itself is compromised | Don't replace if the cabinets are still structurally solid and only need a better finish |
Repaint makes sense when the boxes are sound, the doors are straight, and you mainly want a fresh look. Refinish makes more sense when the current coating has failed but the cabinet itself still has good bones. Replace is the right call when moisture has swollen MDF, thermofoil has let go, or the kitchen layout needs a real change.
That's the filter for Austin homes from Round Rock to Dripping Springs, and it's more useful than asking only how old the paint is. A professional look at the finish can tell you whether the damage is surface-deep or structural, and that answer should drive the project, not the other way around.
If your cabinets are fading, chipping, or just not holding up the way they used to, Restore My Kitchen ATX can evaluate the finish, prep, and substrate before you commit to repainting or replacement. Visit Restore My Kitchen ATX to ask about cabinet refinishing, cabinet painting, and the right durability-focused approach for your kitchen.